How to draw a JustSketchMe Mermaid!
#Mermay
May has swung around which means that it’s time to draw some mermaids for MerMay!
I had this idea in my head to draw a glow in the dark mermaid that found a bright fish in the deep, but I didn’t exactly know how I wanted her to look. Maybe you have also been struggling this last week?
Luckily justsketchme has come to the rescue!
For the month of May, JustSketchMe has released a free mermaid model that will help you draw a beautiful mermaid in no time.
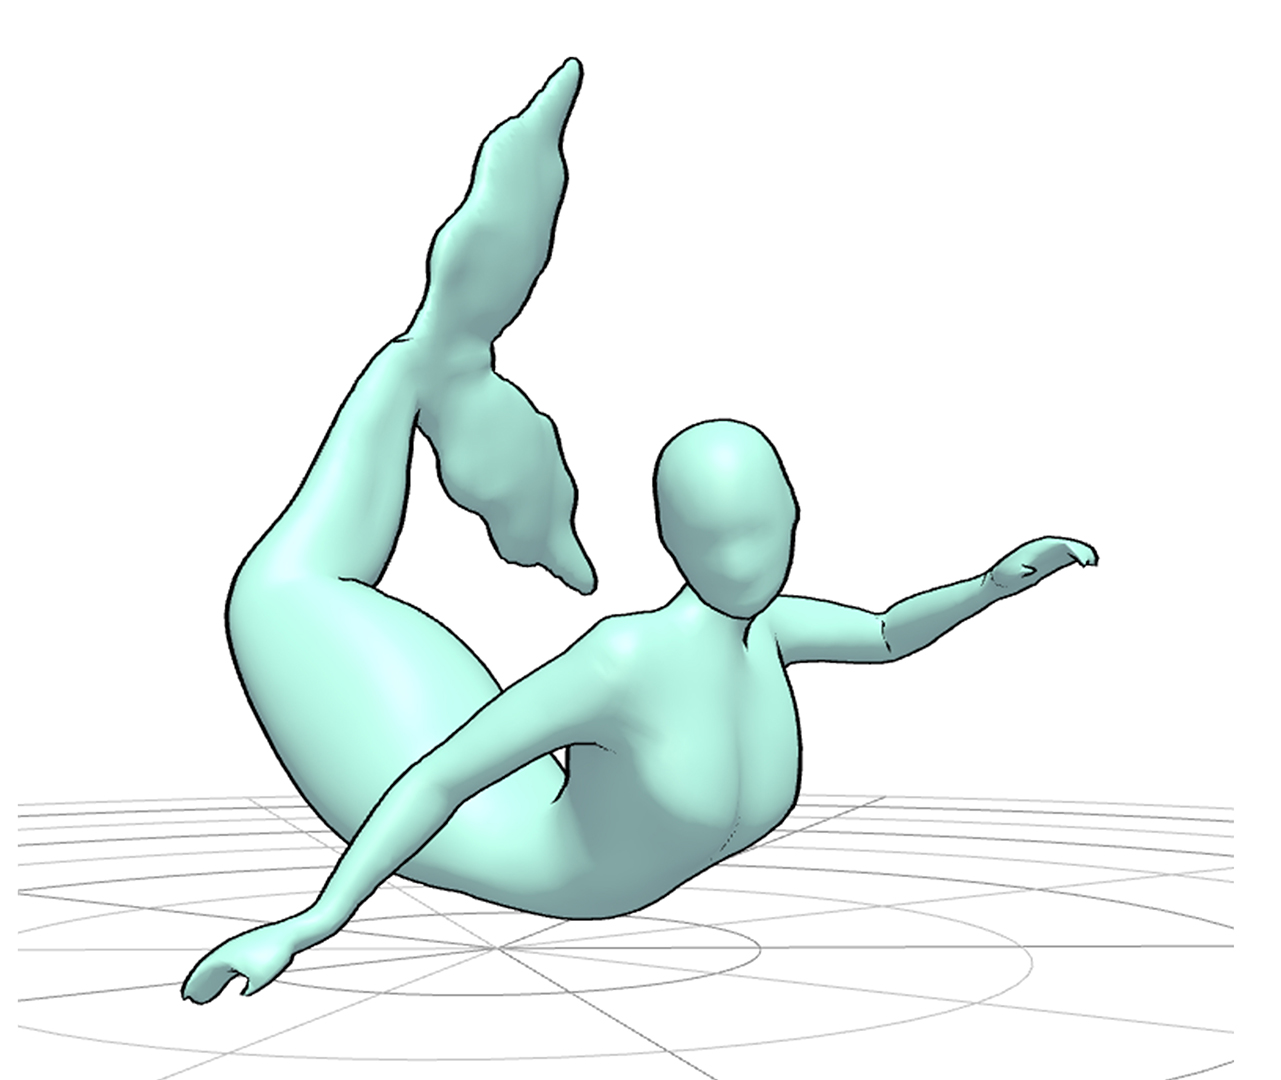
Step 1
Open up JustSketchMe, load their mermaid model, and start moving her around. JustSketchMe has full 3-D turnaround capabilities, can zoom in and out, and can pose the arms and mermaid tail in any preferred way. You can play around with the angles as long as you like until you find something that matches the idea in your head. After I found the perfect pose, I took an easy in-app screenshot.
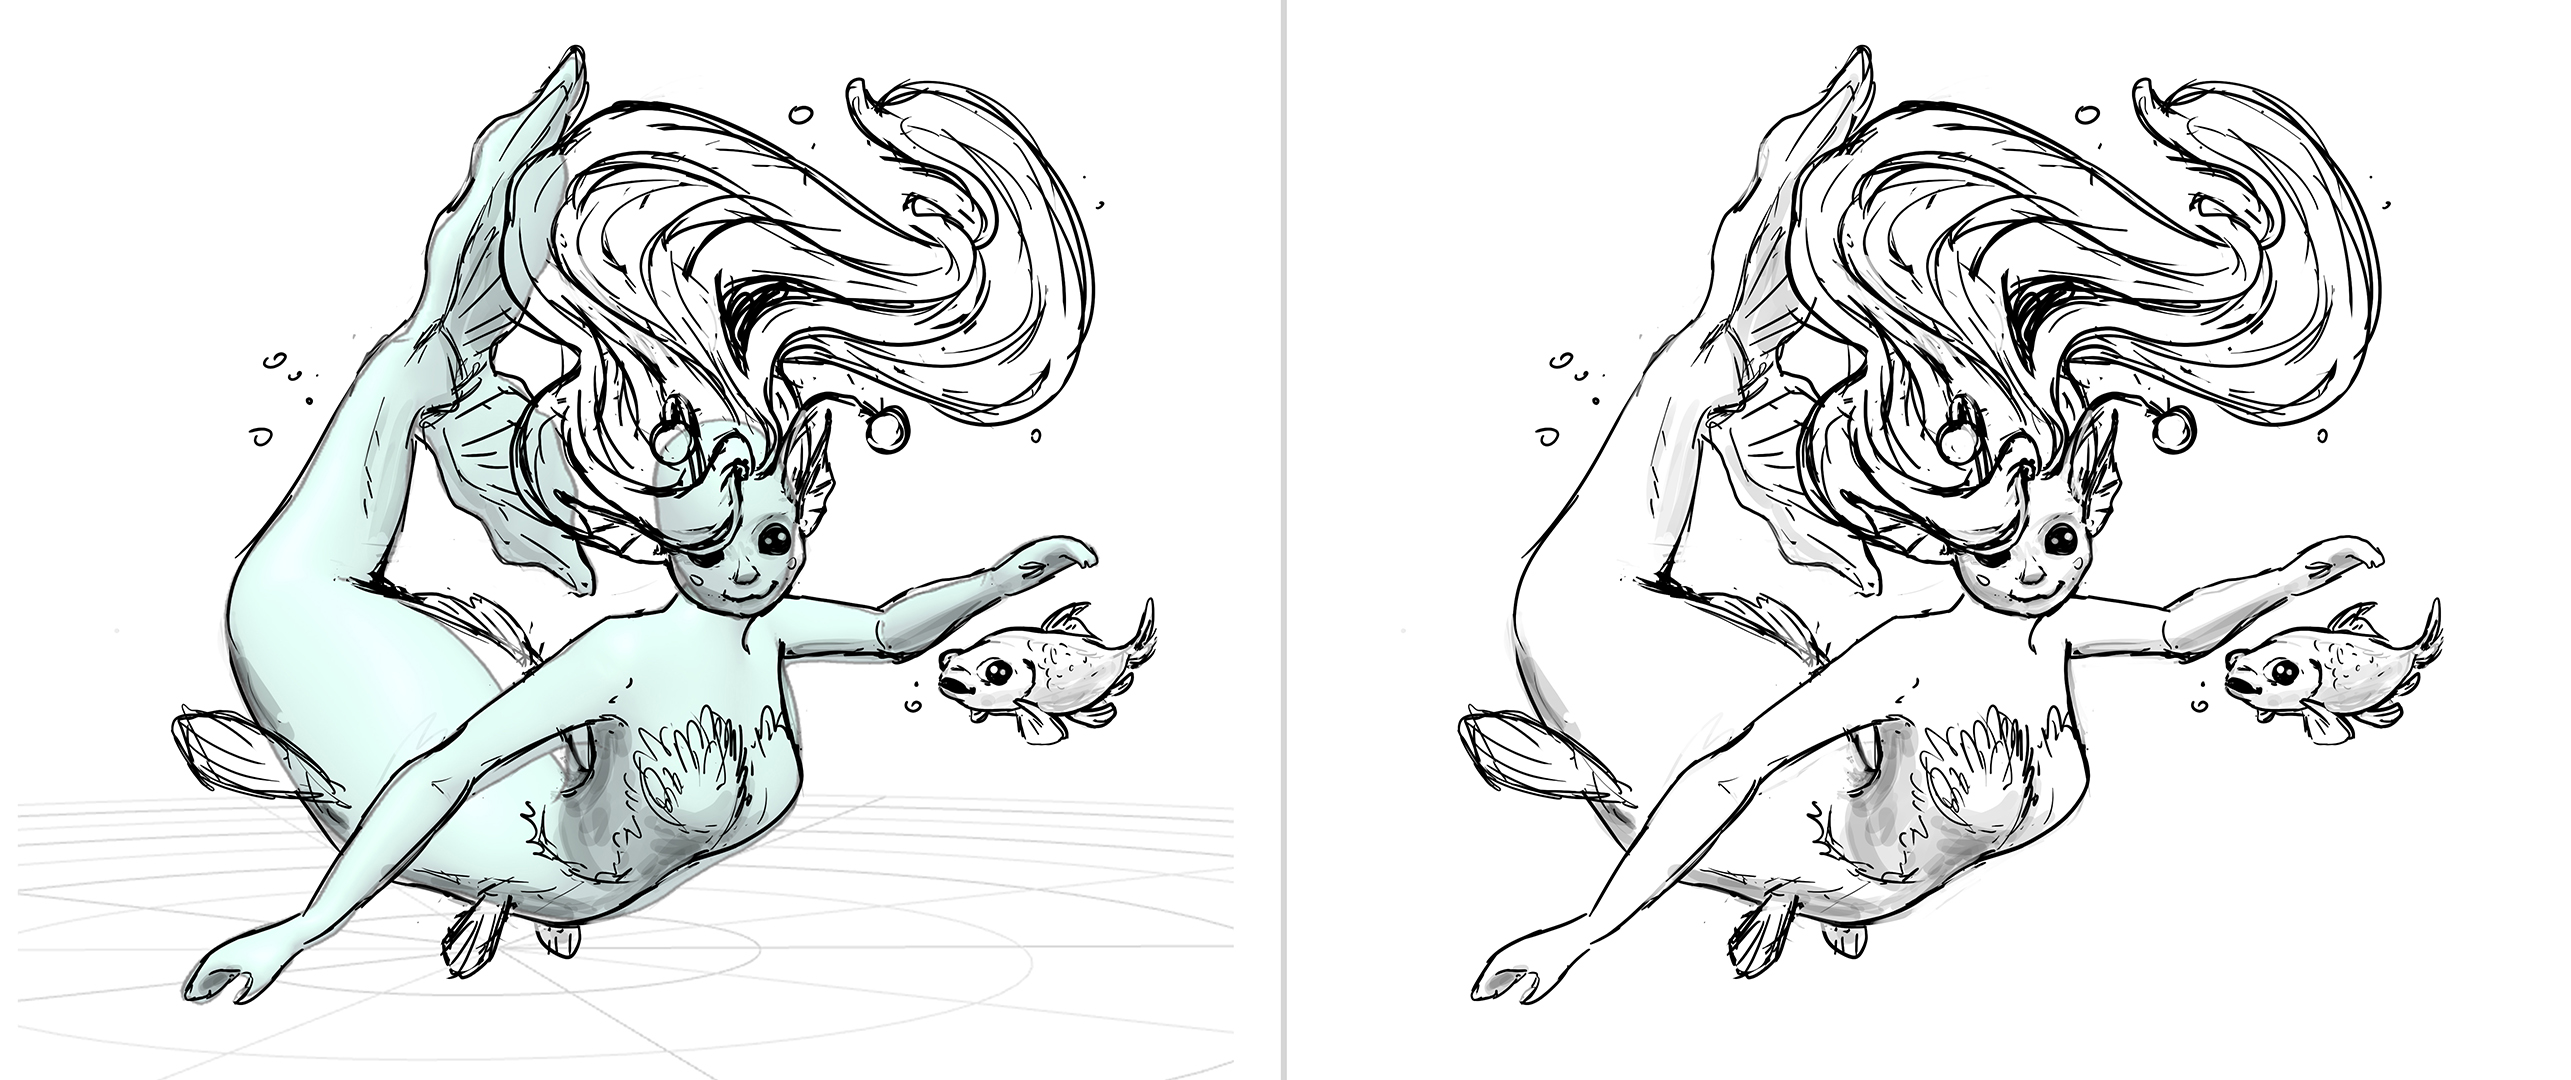
Step 2
Create an artboard in the illustration app of your choice (I chose Photoshop), then drag and drop the screenshot. On a new layer, trace over the screenshot until you have a sketch you are happy with. Don’t worry about making mistakes and trying different things - it’s all part of the process; I redrew the face 5 times.
For this artwork, I kept the rough linework, instead of redoing it neatly, but you might prefer a clean drawing style.
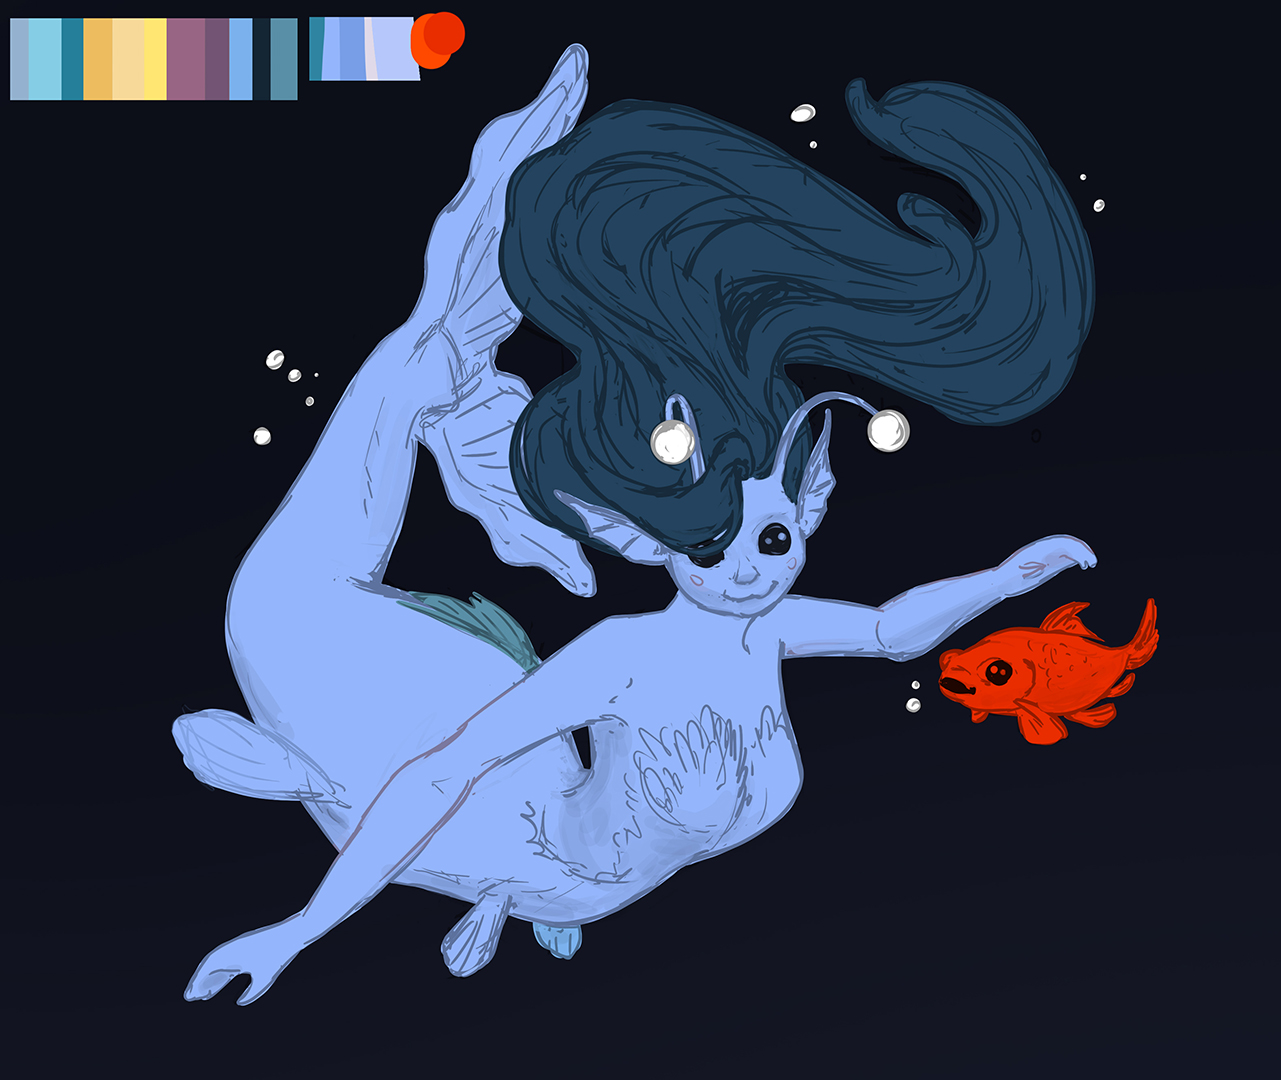
Step 3
Before colouring, first, define your colour palette. I made a small palette for myself on a new layer and kept it on the screen as I went on to keep me on the right track.
After deciding on your main colours, go ahead and draw the main shapes, each on a new layer. As you are doing it you should lower the opacity of the linework so you can make sure the outside of the shapes is clean.
When you are done, make sure to lock each layer, so you can shade it without going outside the shape.
Step 4
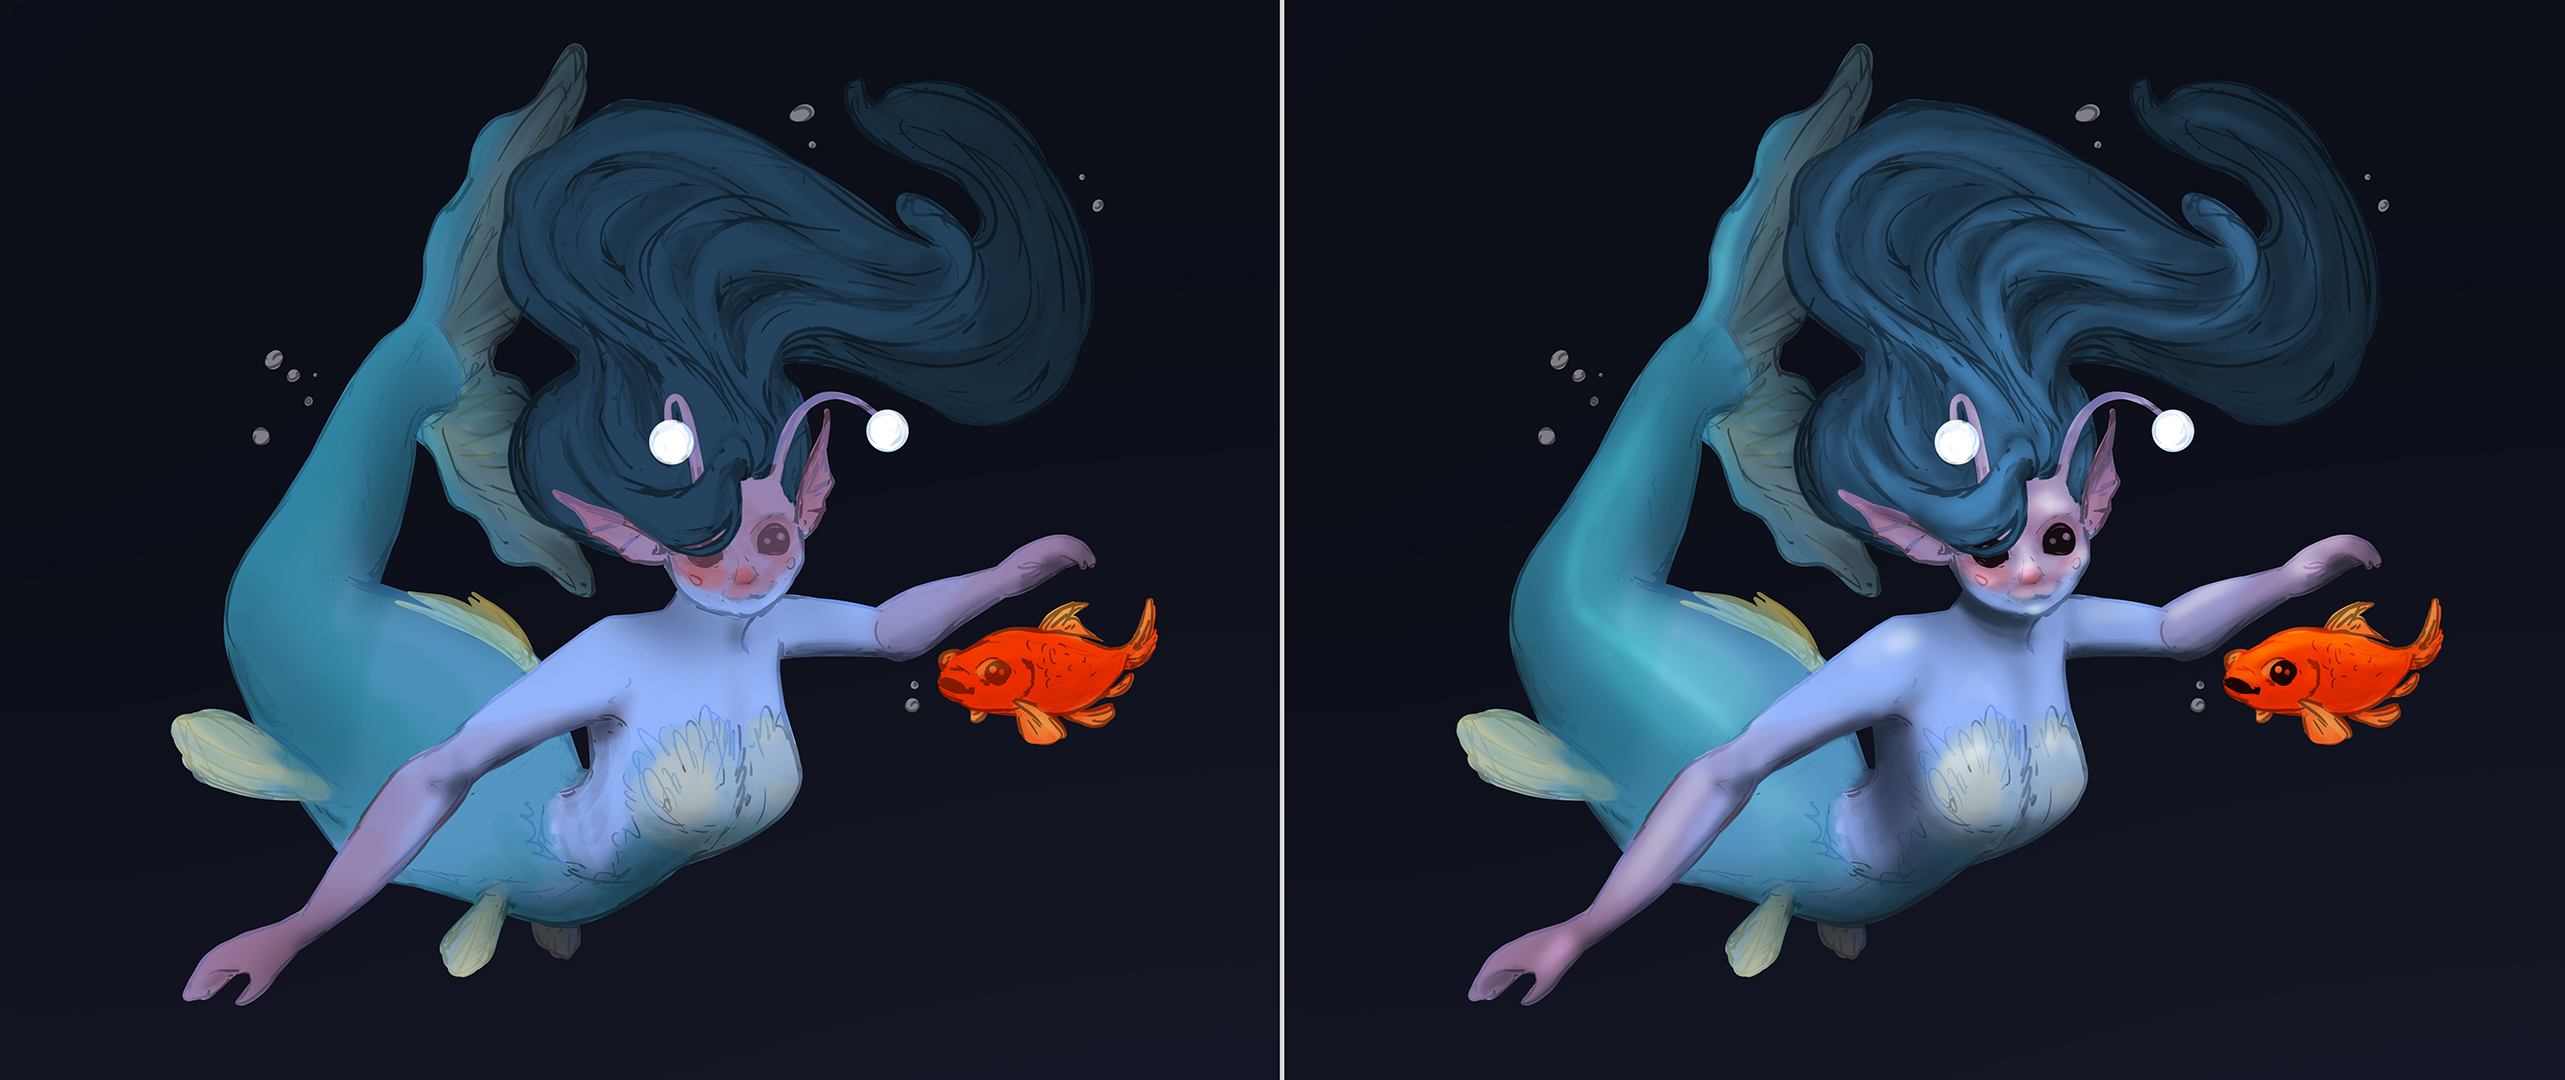
In this step, I developed the colours further, then did the shading.
Justsketchme allows you to change the light source’s angle and how close the source is to the model. To make it easier for yourself in this step, define the light location in step 1 so you can use it as a reference now.
Group all the colour shapes, then inside a clipping mask create an ‘overlay’ layer for the light source and a ‘multiply’ layer for the shadows. With a soft brush, paint in the shadows and highlights.
Step 5
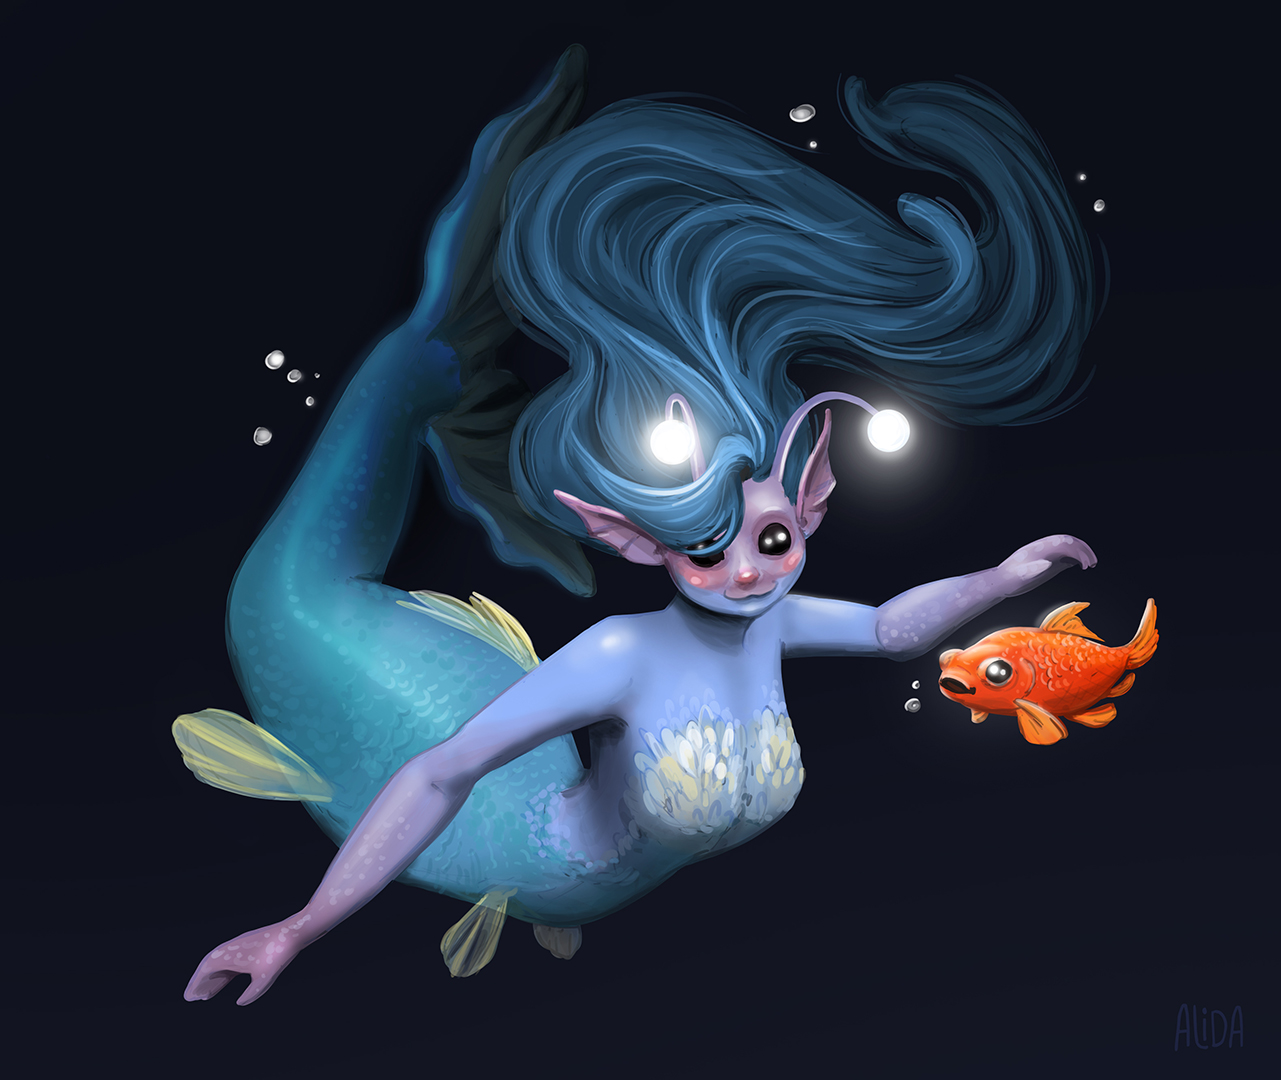
The last step is adding the details. This is the fun part! On a new layer, I used a small brush to draw the scales, individual hairs, the glow, and I strengthened some lines.
I also fix small mistakes in this step.
Lastly, if you want to, add your signature so everyone can know who drew the mermaid. And just like that, you have a beautiful mermaid for Mermay!
